Plain old C is considered a "high level language" on embedded
machines, and many commercial embedded products are still written
in assembly language. 20MHz is considered "fast".
Integer multiply instructions are a rare luxury--floating point is
almost never found. A $5 chip is considered "expensive".
A few families of embedded microcontrollers out there that I've
used:
I've written code for real projects on Arduino, PIC, and 68HC11. I've used all of the above at least at the demo level. I mostly use Arduino for one-off projects, due to the full C++ support and good standard library.
There are a bunch of different
input devices you can hook up to embedded microcontrollers.
Basically, input pins read voltage, so anything you can convert
into voltage, you can input into the controller. One really
common device for this is a voltage divider, which is basically just two
resistors in series, where you hook up the middle lead to the
microcontroller.
For example, pushing a button normally closes a contact, bringing
the resistance of the button from infinity down to zero.
Alone, that's useless. But if you put 5V on one terminal of
the button, and connect the other terminal to both the
microcontroller input pin and a 1Kohm "pull-down" resistor (the
other end hooked to ground), then you've effectively built a
voltage divider with the button as the top resistor. If the
button is unpushed, its infinite resistance allows the pull-down
resistor to pull the micro's pin down to ground, zero volts.
When the button is pushed, it shorts the micro's input pin up to
5v. A little current leaks through the pull-down resistor,
which is fine. Light switches, limit switches, keyboard and
mouse buttons, thermostat mercury bulbs, etc all boil down to just
contact or no contact, and are interfaced in exactly the same way.
One caveat: pushing a button may result in several hundred tiny
contact/no contact pulses a few microseconds wide. You
typically clean this up with a "debounce" circuit, either a
hardware resistor-capacitor filter circuit, or a software function
that only checks the button at 50Hz or so.
Another example, a "thermistor" is a resistor whose resistance
varies with temperature. If you set up a voltage divider as
above, but plug a thermistor into the top half, you can convert
temperature to voltage.
Analog TV, analog audio, and VGA signals are already just
quickly-changing voltage patterns, so you can run them straight
into an analog input pin of a microcontroller!
Output pins output voltage,
usually just either 0v or 5v, but can supply up to a few dozen
milliamps. This is just enough to light up a small LED,
although you usually want a 1Kohm (or so) current limiting
resistor inline with the LED.
To switch a useful amount of current, say to run a little motor,
you usually need an interface device like a transistor. "Signal" transistors can switch
up to a few hundred milliamps, and "power" transistors can switch
up to a few amps. FET transistors can go up to dozens of
amps fairly cheaply.
One annoying thing about transistors is they only conduct current
in one direction. An electromechanical relay can
switch AC current, although usually you need a transistor to push
enough juice through the relay coil to get it to close. I
like relays, because they can't be hooked up backwards, and
they're a lot tougher to fry than transistors. Downside with
relays is they're slow, energy intensive, and electrically and
even acoustically noisy.
To turn a DC motor in either direction, you need an H-Bridge.
In theory, you can build these yourself from high power FET
transistors, but in practice, it's way easier, especially at high
power, to just buy a single-chip H-bridge (I really like the ST
VNH3SP30TR, which switches up to 30 amps at 16 volts for $8), or
even buy a prepackaged radio control electronic
speed controller (ESC).
One cool output device is a servo, which is just a little motor, position
sensor, H-bridge, and controller circuit integrated into one handy
case. You tell the servo what position to go to with a
pulse-width-modulated signal: 5v for 1ms means all the way to the
left, for 2ms means all the way to the right, and 1.5ms means
halfway in between. Most servos can seek to several hundred
separate positions. You usually repeat the seek signal every
15-30 milliseconds. Servos use just three wires: black for
ground, red (in the middle) for 5v, and white for the PWM position
signal. Servos are as low as $3 direct from China (although watch out for
shipping!).
If talking to another big or little computer, you can speak USB
(which is fast enough you usually need special hardware to speak
it), plain slow serial (where bits are known fixed and *slow*
times), I2C, SPIB, or any of a bunch of weirder protocols.
Typically, embedded programs look like this:
	... initialize hardware ...
	while (1) {
		... read my inputs ...
		... decide if anything needs to change ...
		... if so, write changes to outputs ...
	}
The main infinite loop is the "control loop". The idea is microcontrollers usually are hardwired into known, fixed hardware, so they only have one job to do.
Traditionally, embedded systems had no operating system: no files or permanent storage of any kind, no builtin networking, no threads or processes, and in general are missing all the junk we've come to expect from computers. On the minus side, your "debugger" was a blinking LEDs and a voltmeter!
Now that the internet is considered kind of important, we're trying to figure out exactly how much operating system to add to embedded systems. Some stripped-down form of Linux is becoming more common, and boards like the Raspberry Pi support a full GUI desktop.
| Traditional Embedded System | Modern Embedded System | |
| CPU | Atmel, MSP430, PIC, ARM | ARM, MIPS, Intel Edison |
| Clock Rate | MHz | up to GHz |
| RAM | KB | MB / GB |
| Flash | KB / MB | MB / GB |
| Networks | CAN, I2C, SPI | Wifi, Ethernet |
| OS | None | Linux, RTOS |
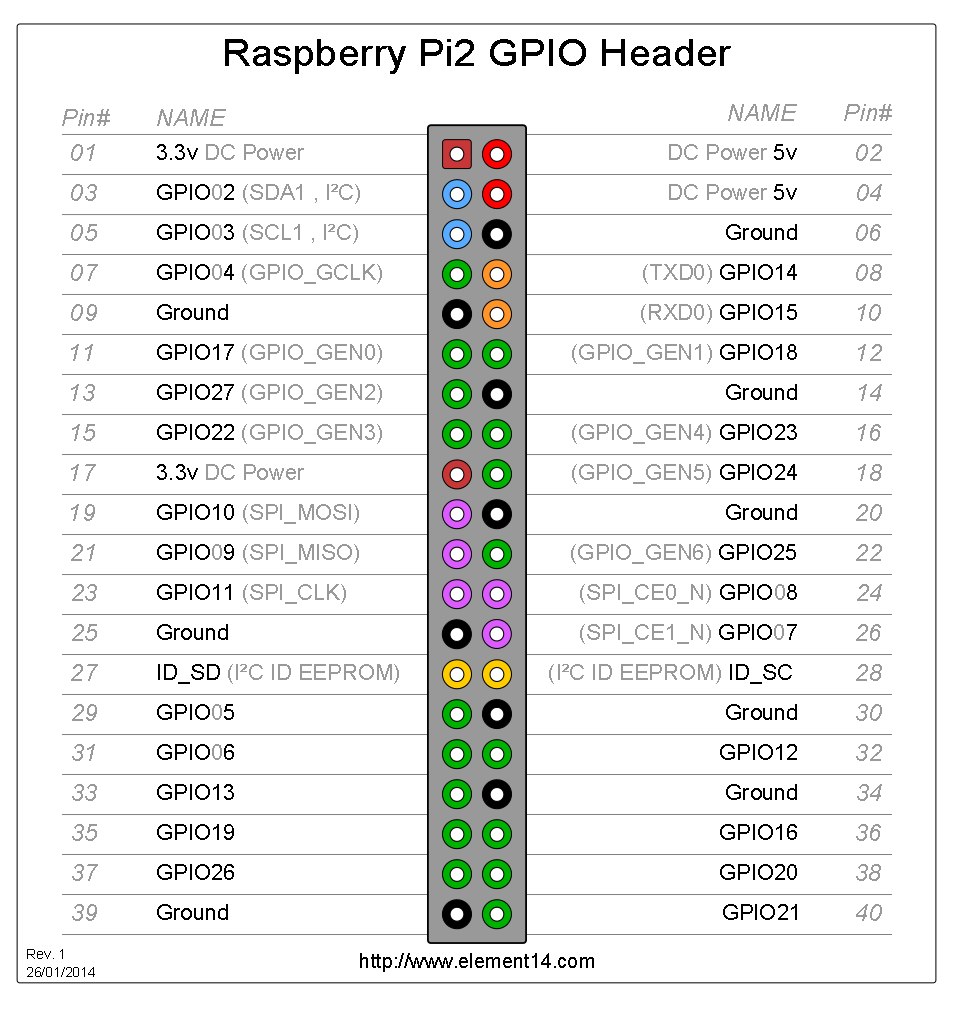
| GPIO Chip |
First GPIO Physical Address (in /dev/mem) |
|
| Raspberry Pi 1 |
BCM2835 |
0x20200000 |
| Raspberry Pi 2 |
BCM2836 | 0x3F200000 |
| Future Pis |
??? |
??? |
#include <stdio.h>    // for printf
#include <fcntl.h>    // for open
#include <sys/mman.h> // for mmap
#include <unistd.h>

long foo(void)
{
	int fdgpio=open("/dev/gpiomem",O_RDWR);
	if (fdgpio<0) { printf("Error opening /dev/gpiomem"); return -1; }

	unsigned int *gpio=(unsigned int *)mmap(0,4096,
		PROT_READ+PROT_WRITE, MAP_SHARED,
		fdgpio,0);
	printf("mmap'd gpiomem at pointer %p\n",gpio);

	// Read pin 8, by accessing bit 8 of GPLEV0
	return gpio[13]&(1<<8);
}
Once you've found the GPIO chip, you read and write the chip's
registers by reading and writing memory there. This
table is a distilled version of the BCM2835
documentation, chapter 6.| Name |
Purpose |
Byte Offset |
Int Offset |
| GPLEV0 |
In input mode, each bit reads one GPIO pin. |
0x34 |
gpio[13] |
| GPSET0 |
In output mode, turn a GPIO pin high
by writing the corresponding bit here. E.g., GPIO pin 8 is bit 1<<8, so you set it with gpio[7]=1<<8; |
0x1C |
gpio[7] |
| GPCLR0 |
In output mode, turn a GPIO pin low
by writing the corresponding bit here. |
0x28 |
gpio[10] |
| GPFSEL0 |
Sets the mode for the first 10 I/O pins,
numbers 0..9. Each pin has a 3-bit field, with 000
meaning input, 001 meaning output, and 010 and higher
meaning "alternate functions" specific to each pin (see
chapter 6.2). |
0 |
gpio[0] |
| GPFSEL1 |
Sets the mode for the next 10 I/O pins,
numbers 10..19. |
4 |
gpio[1] |