Semiconductor manufacturing is just a long series of deposit/mask/etch
cycles, building up the parts of the circuit on a piece of silicon.
This is the "Gootee method"
for garage printed circuit board (PCB) manufacturing. It uses an ordinary laser printout
as an acid-etch mask on a copper-clad fiberglass board. It takes maybe
half an hour to prepare a circuit board this way, plus a little more
time to drill holes and solder on components. (This information is FYI on a
personal hobby of mine--it will not appear on the test!)
Prepare the Mask
Draw your desired wiring patterns in any drawing program--everywhere
you draw black, you'll get toner, which will protect the copper.
Unprotected copper will be eaten away by acid.
I use the free SVG vector drawing program Inkscape. You do have to flip the design backwards so it's oriented properly once ironed on!
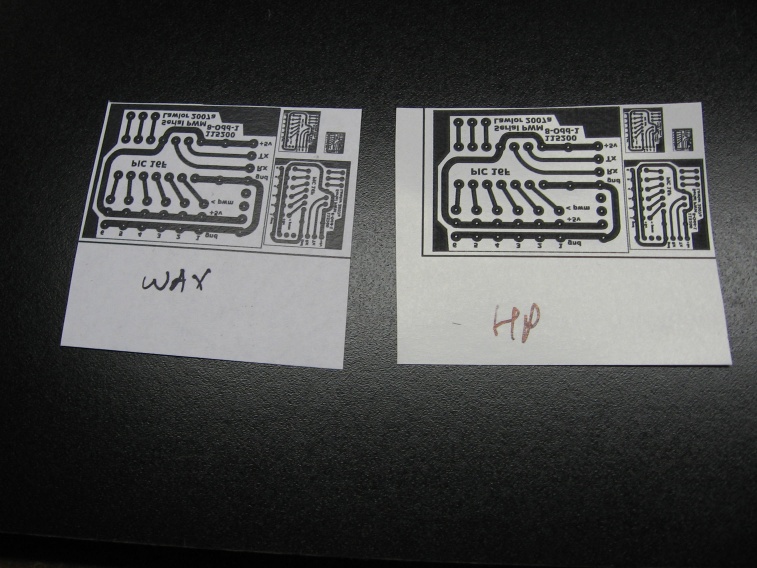
Print your PCB pattern onto *glossy* *inkjet* paper with a laser
printer. The laser toner will barely bond to the paper's glossy
surface, which makes it easier to transfer onto copper.
I used OfficeMax Semi-Gloss Color Laser Printer Paper, which is about 7 cents per page.
Some printers' toner seems to work better than others, so try a
few printers. The printout from a wax or inkjet printer won't stick or
resist the acid, so use a laser printer. Color laser works, too!
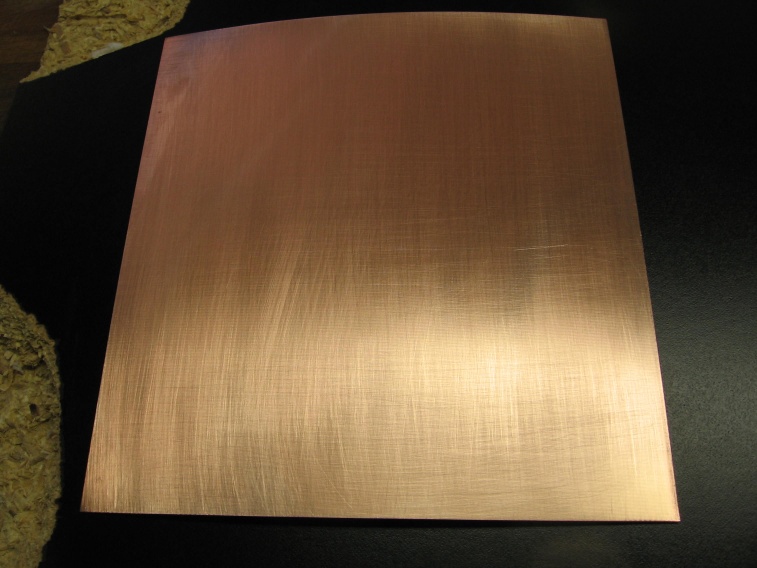
Start with a manufactured copper-clad fiberglass board. I used
"one-ounce" copper boards (one ounce of copper per square yard, which
is a layer only 35um thick!).
Thin floppy boards are $0.95 for a 4"x8" piece at Electronic Goldmine.
Thicker, sturdier boards are a few dollars each. I can't recommend the
"phenolic" boards, which are more plasticky; fiberglass boards are
stronger and better at repelling solder, herding it onto the copper.
Scour the PCB clean with Scotchbrite-style scouring pads--two
passes, horizontal and vertical. Press hard! You're both
scraping off oxidation and adding some tooth to the surface. Try
not to leave greasy fingerprints on the board from this point onward.
Wipe the PCB clean with acetone. Alcohol works too, but acetone seems to help the toner stick better.
Heat up the PCB with an electric iron on the hottest setting. The PCB should be quite hot for the next step.
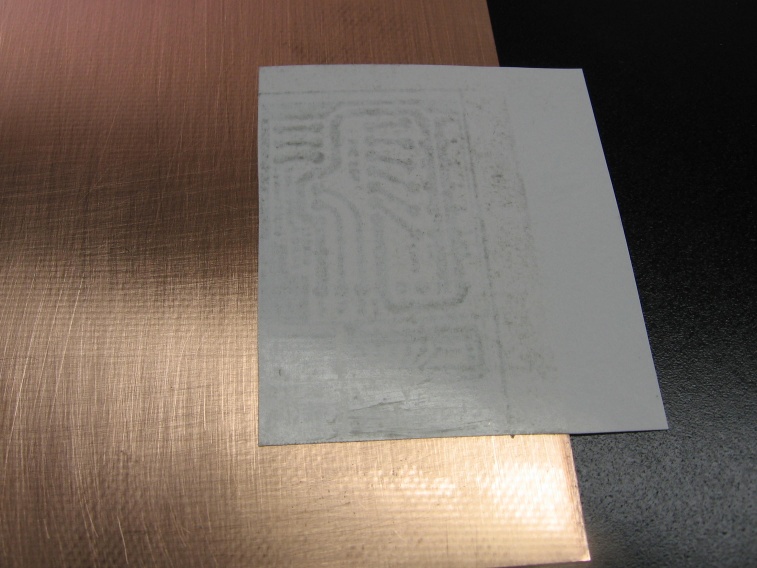
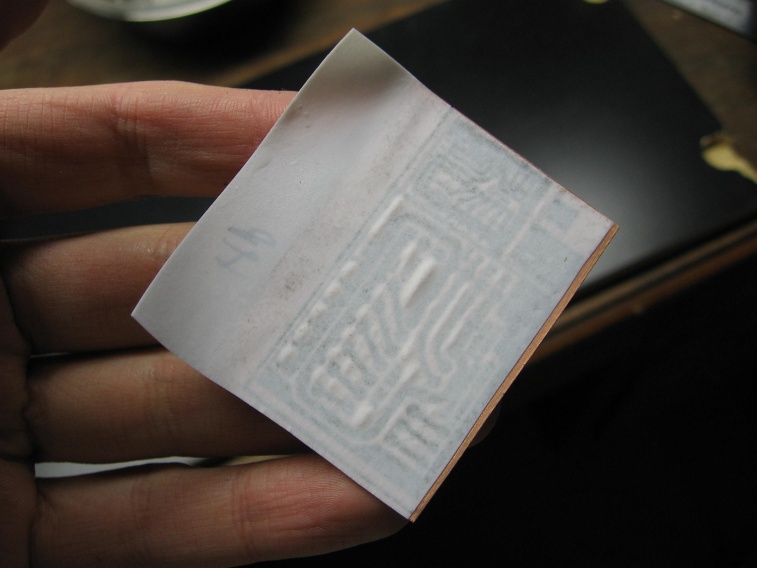
Gently place the printed paper pattern toner-down onto the
PCB. It should stick almost immediately. Iron the back of
the pattern *firmly*. Too light and the pattern won't stick. Too
hard and the pattern will be squished outwards, filling in small holes
(like dot gain, as in the example below). This step basically
glues the toner pattern to the PCB.
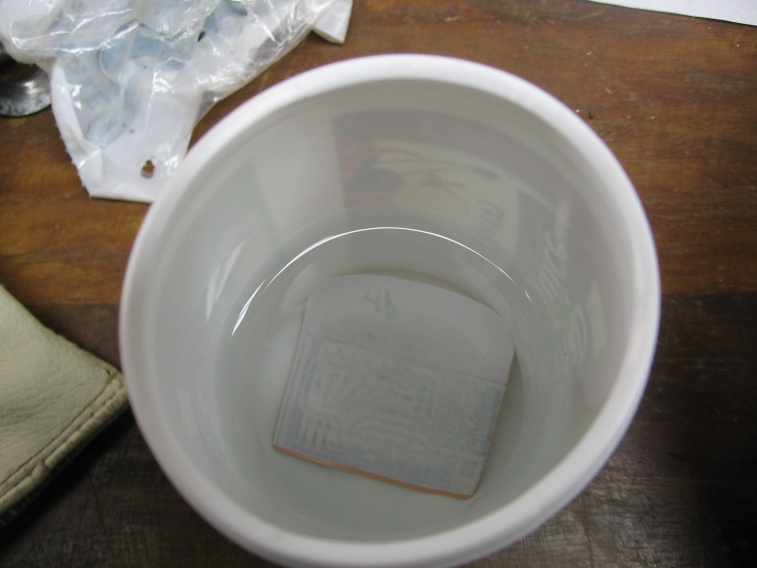
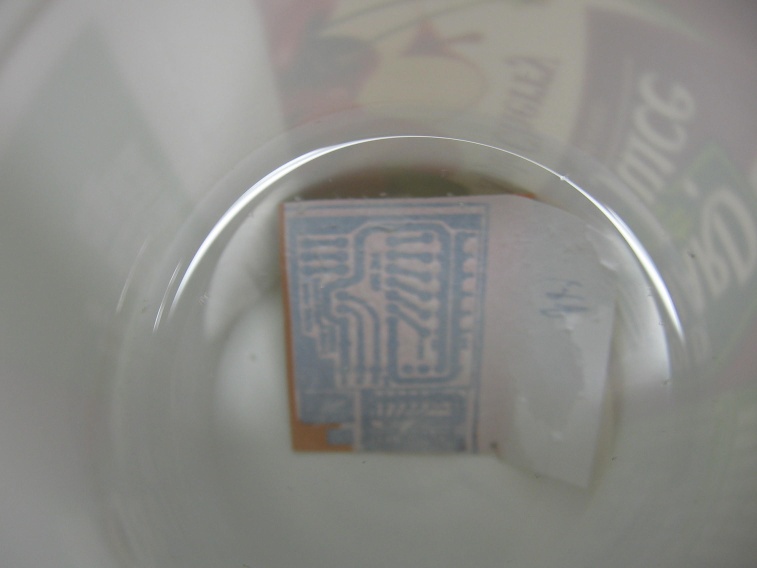
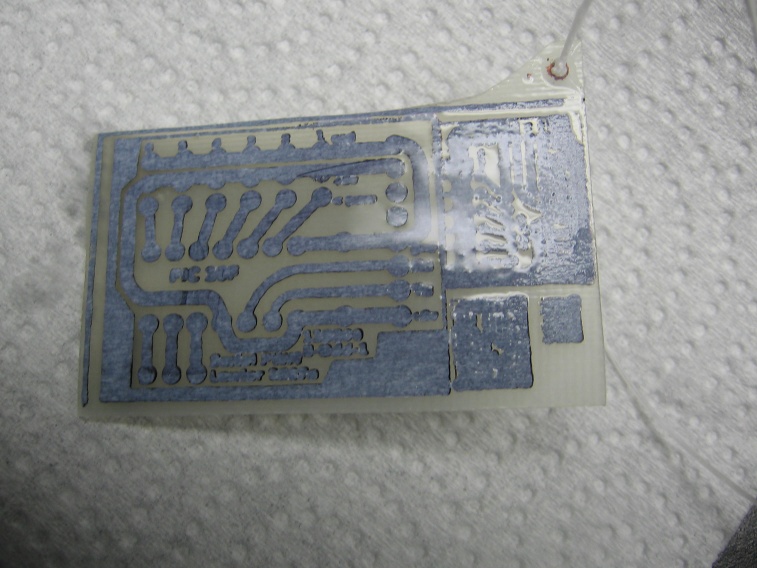
Drop the paper-coated PCB in warm water. Wait a few minutes, and gently peel off the top few layers of paper.
Back in the water. Wait a few more minutes, and finally
gently scrub away most of the remaining paper. You should now be
down to bare copper where you want nonconducting fiberclass on your
finished PCB, and toner (with a few stuck-on bits of paper) where you
want conductive solderable copper. It's not necessary to remove
every particle of paper, since the acid will soak through the paper
anyway.
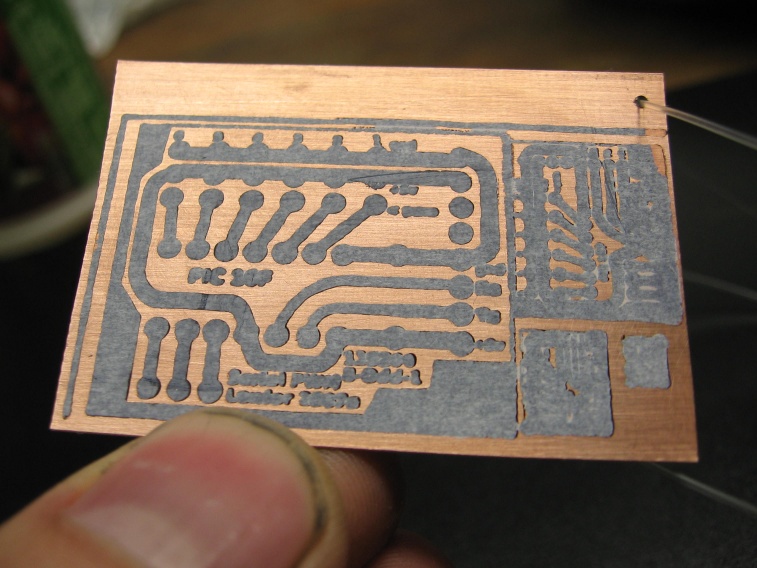
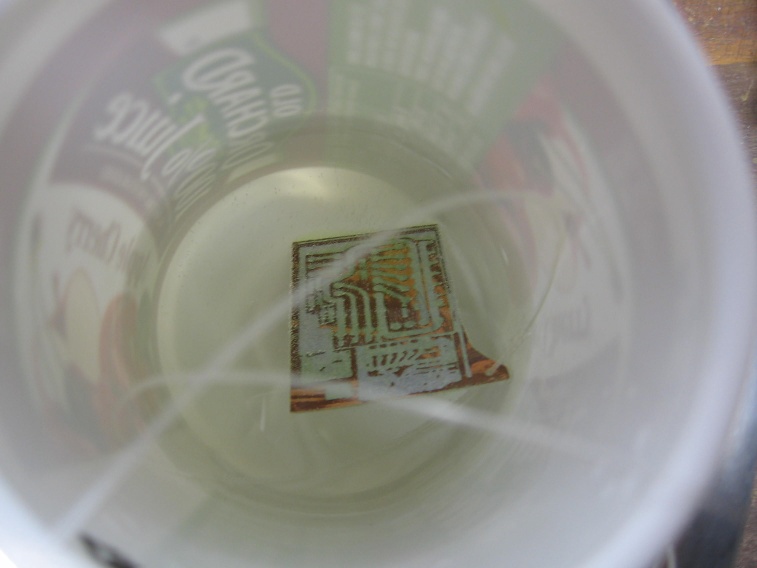
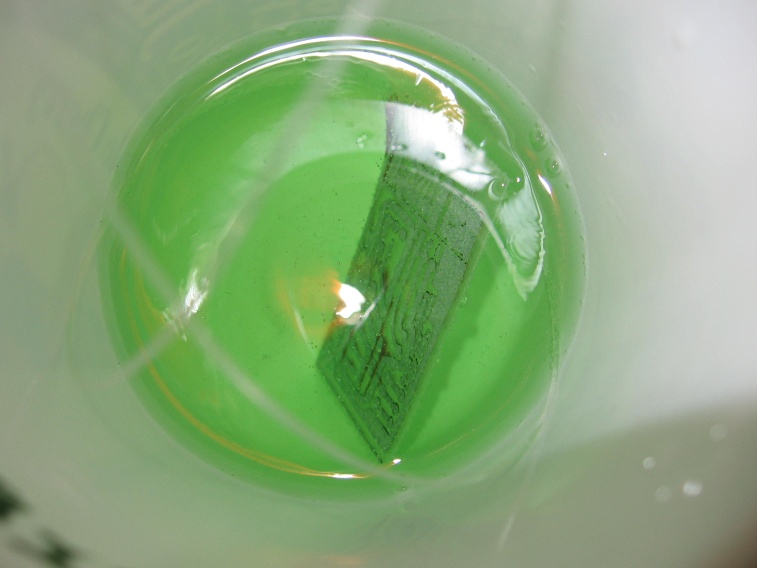
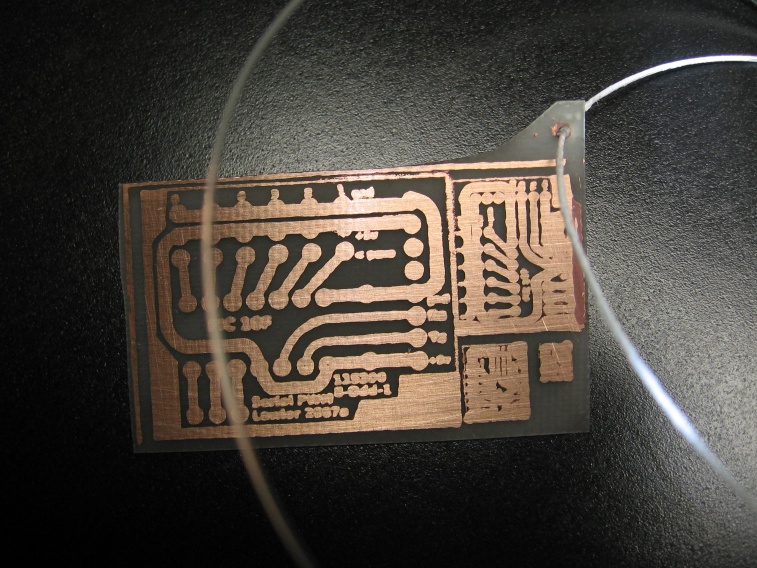
Drop toner-coated PCB in acid. For a 1" board, I used
Gootee's new formula of 100mL of hydrogen peroxide and 50mL of muriatic
acid to take off exposed copper. Tie a monofilament fishing line
through a hole in the board to make it easier to remove and jiggle
around in the acid.
The hyrogen peroxide is just the ordinary 3% H2O2 you buy for
disinfectant. It's about $1 per quart. Without the hydrogen
peroxide, the acid will work, but it's way slower, and tends to eat the
toner.
Muriatic acid is 28% Hydrochloric Acid. It's about $10/gallon and sold at hardware stores for etching concrete. CAUTION: It's acid! Be sure to ear eye protection and nitrile gloves!
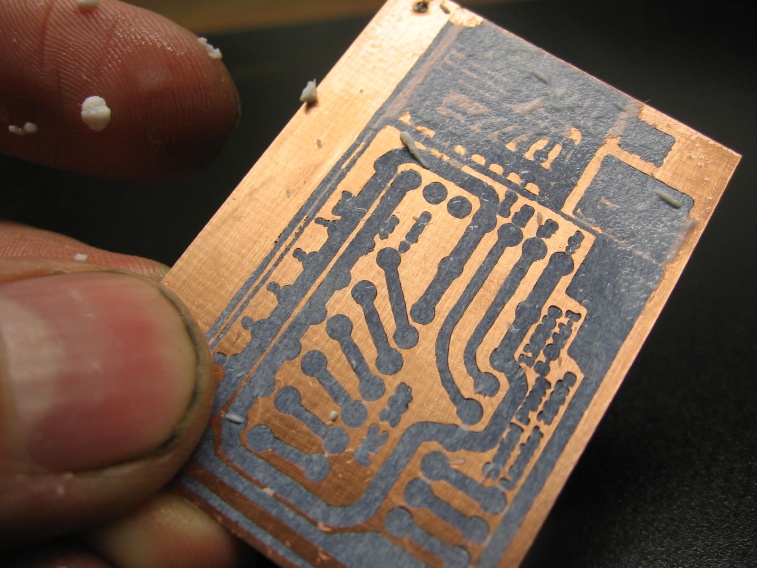
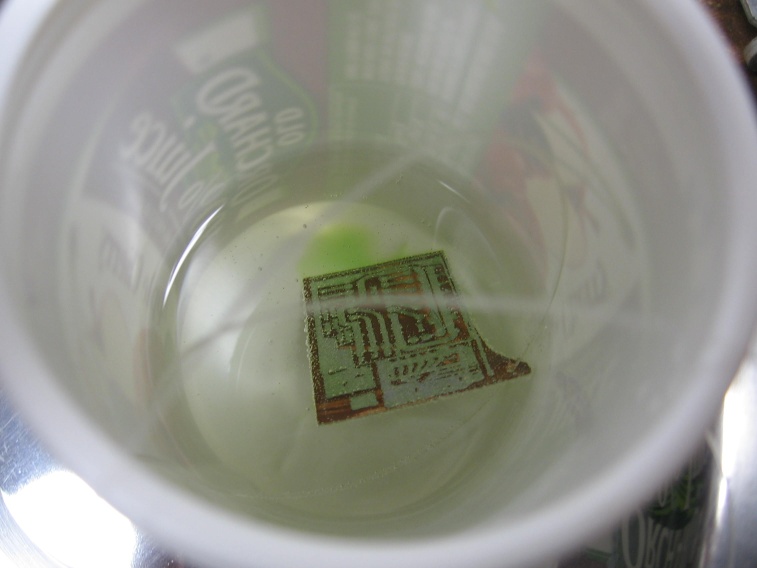
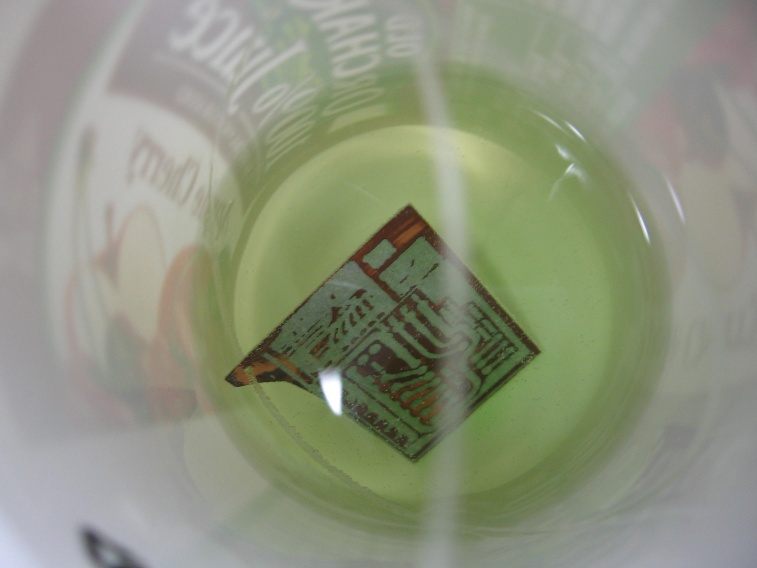
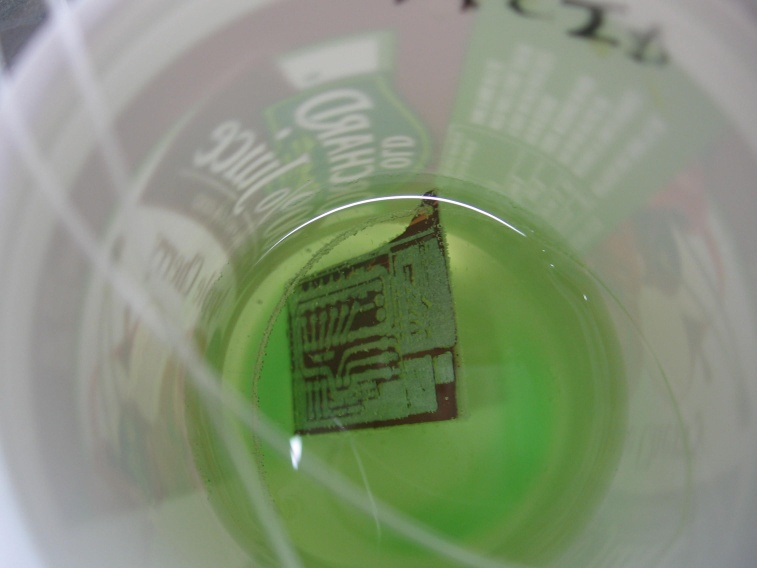
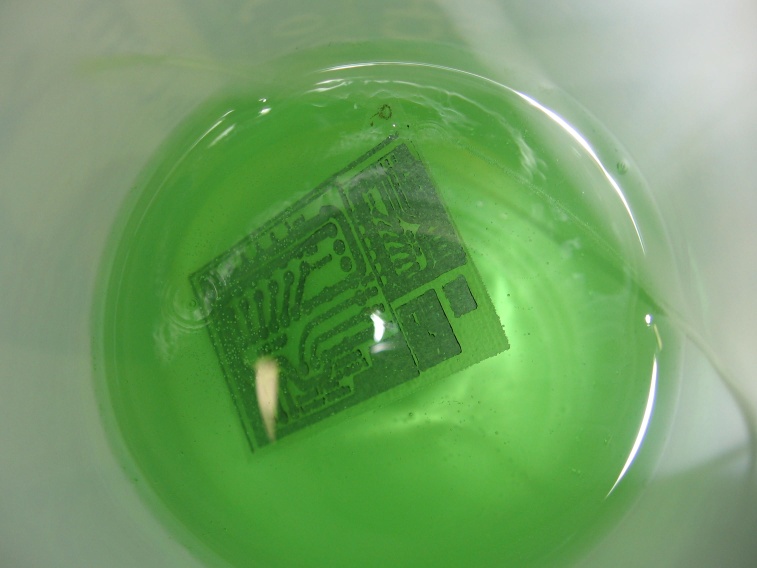
The acid will etch away exposed copper, turning the copper a dull
brown and the acid Cu2+ green. Fresh warm acid will only take
about five minutes to eat through all the exposed areas on a small
board. Overused or cold acid might take an hour or more and eat
away at the toner, so change your acid every few parts. Since
copper-bearing acid is denser and sinks, the top parts of the board
will become visibly clean first.
I think it's safe to dispose of small quantities of used acid
by cementing out the copper with iron (old steel nails work well),
diluting with water, neutralizing with baking soda, and pouring down
the sink with lots of water. Some folks also use the resulting copper
chloride as an air-regenerated reusable etchant. On a
commercial scale, you'd have to comply with EPA rules (copper in
water is bad for everything).
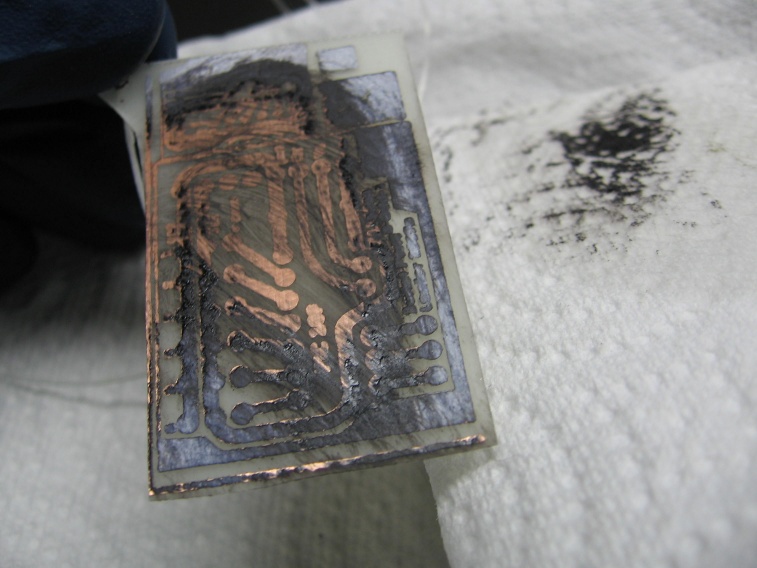
Once clean, and all the traces of copper are gone from the
non-tonered parts of the board, take the board out of the acid and
rinse with cold water.
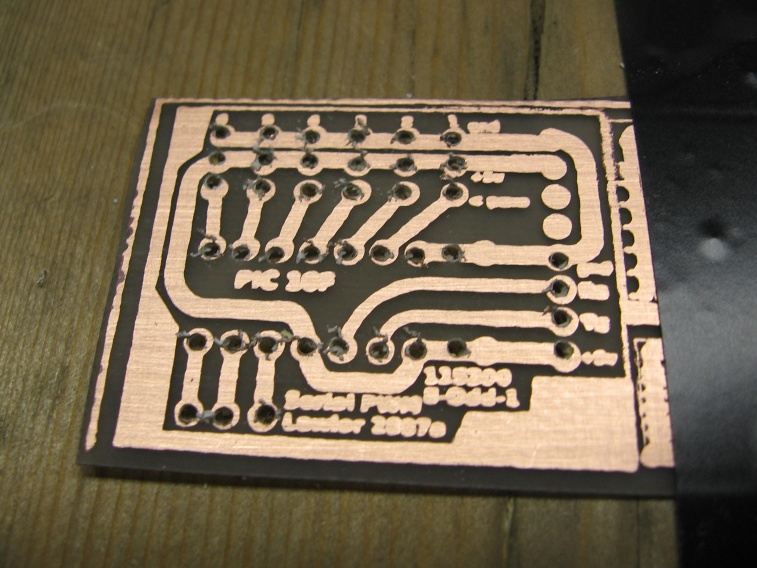
Wipe away the toner with acetone or lacquer thinner on a paper
towel. You should have clear, bright copper underneath! If
the copper is a dirty, spotty brown then the acid must have eaten into it; you might want to switch printers or toner brands.
Drill component mounting holes with *tiny* 20-45 thousandth drill
bits (preferably about 30-40 thou; a 1/32" drill bit is 31 thou).
You can pretty easily drill four or five boards at once, although
keeping them aligned is tricky. Carbide bits don't get dull, but
they shatter really easily. A drill press or good dremel tool is
a big help. Pilot holes help keep a stack of boards aligned.
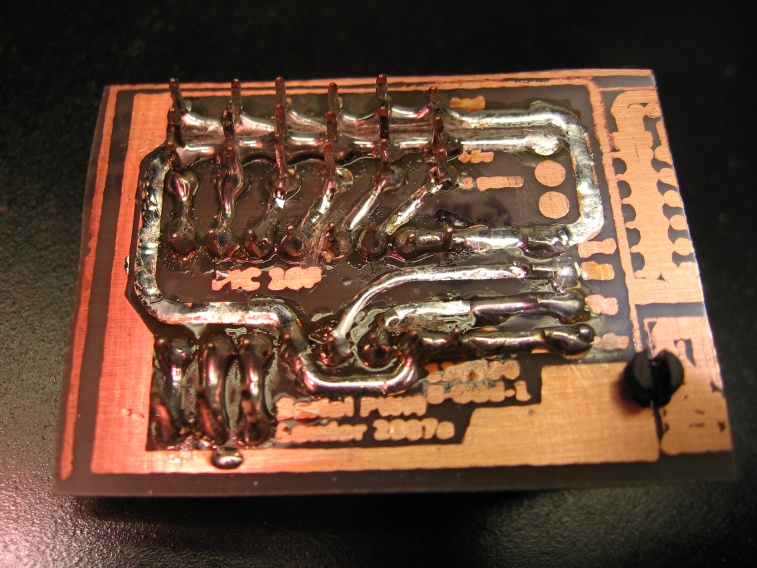
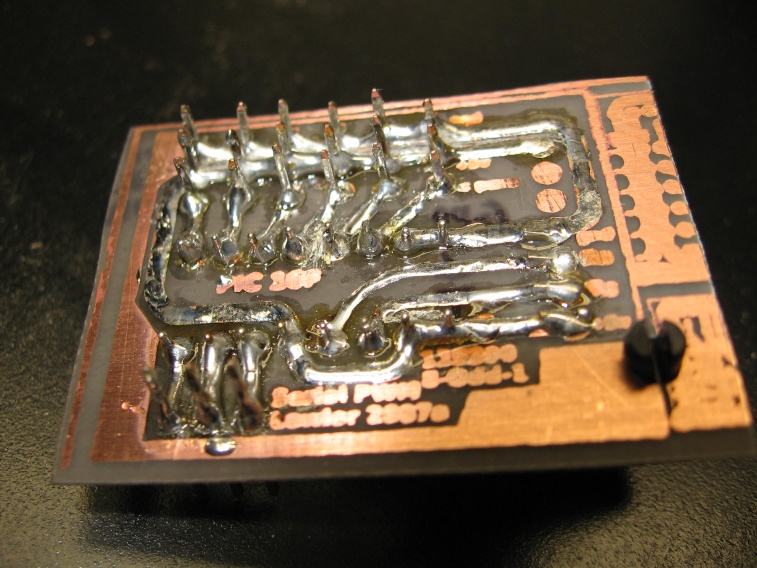
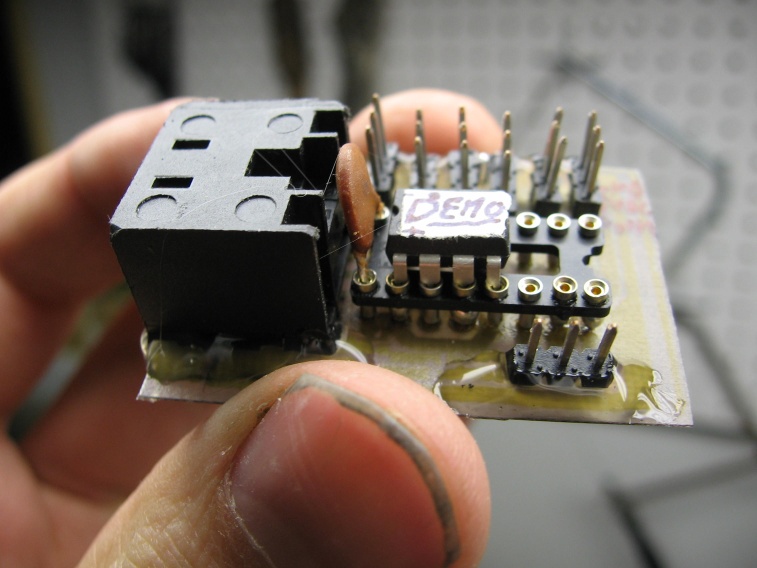
Push components in from non-copper side, and hot glue them down. This makes the components a lot easier to solder.
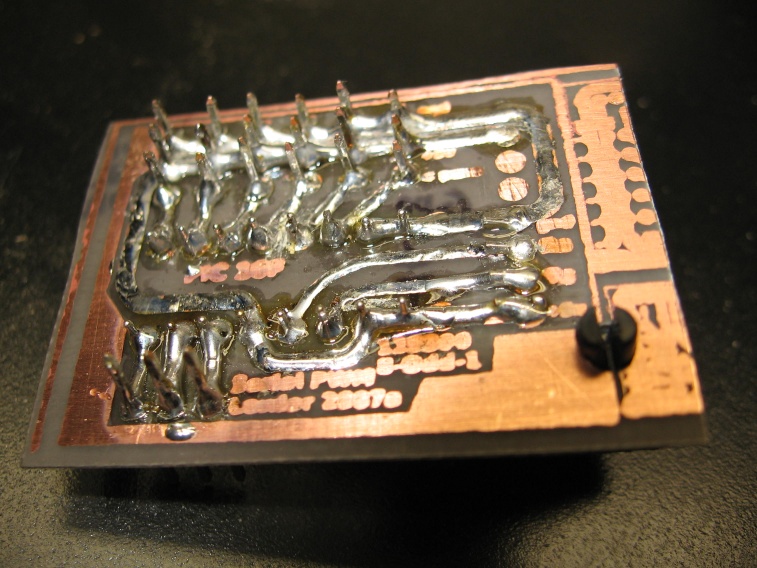
Solder the component leads to the copper. Soldering is
really a breeze on a clean fiberglass board with bright copper.
It's really tricky if your holes are too big,or if the copper is oxidized from spending too long in the acid. Folding leads over so they lay flat is a bit stronger, and makes soldering even easier, but does take more time.


